Difficulty curves
From chapter 2 (level 21) on, every level has a difficulty curve: a small line at the top left of the screen that shows where in the level the pressure sits. The white dot shows how much of the picture you have eaten, and the red stretch is where the nest jams most easily. The curve is built into the level itself, through the picture, where keys, ice and webs are placed, and how the tray is ordered.
Hard opening
The outer ring needs several colors at once and the front rows are scrambled. The first taps decide the level. Only send colors that can bite right away, even if that feels slow; it gets easier once the first ring is gone.
Hard middle
A calm start, then a squeeze. Chained pairs, locks and mystery boxes are packed into the middle rows of the tray. Use the easy opening to sort out the back rows and reach the middle with two free slots.
Hard ending
The level tightens toward the end. Keys are buried in the core, ice and webs guard the center, and the last rows of the tray are the most mixed up. Don't fill all five slots early; keep room for the colors that appear layer by layer at the finish.
Waves
Tight, loose, tight. The opening and the ending are both demanding, with a breather in between. Use the calm middle to clear the slots and bring the awkward boxes forward.
All the way
Reserved for the toughest levels: pressure from the first tap to the last. Think through every tap, keep watching the second and third rows, and plan one move ahead.
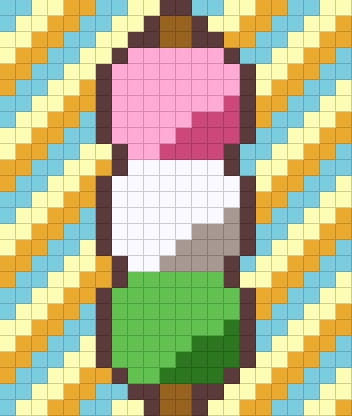 21. Tricolor Dango
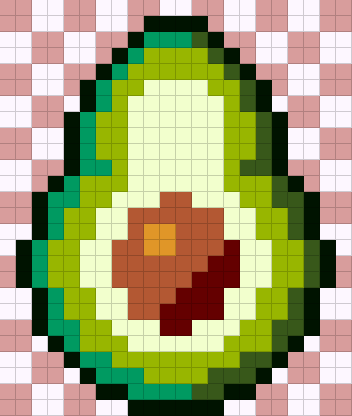 22. Avocado
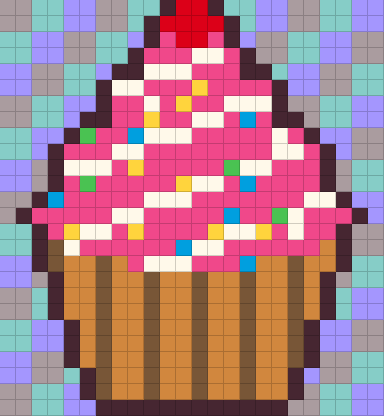 23. Sprinkle Cupcake
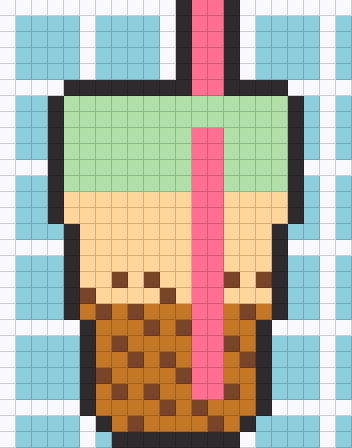 24. Bubble Tea
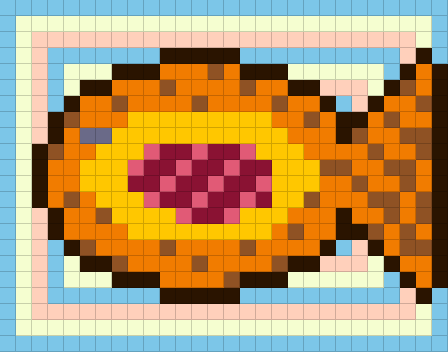 25. Taiyaki
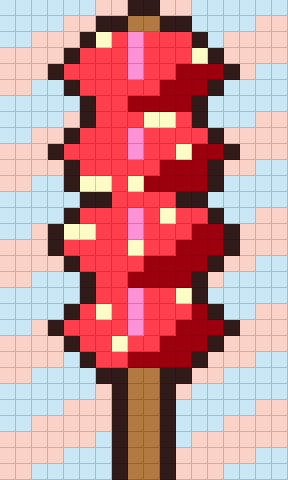 26. Candied Hawthorns
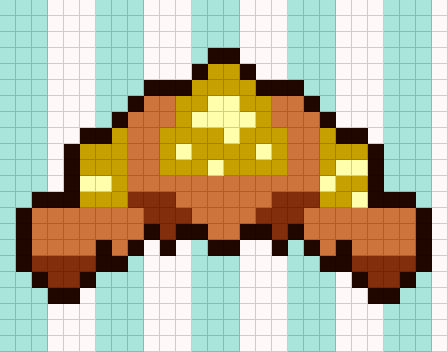 27. Croissant
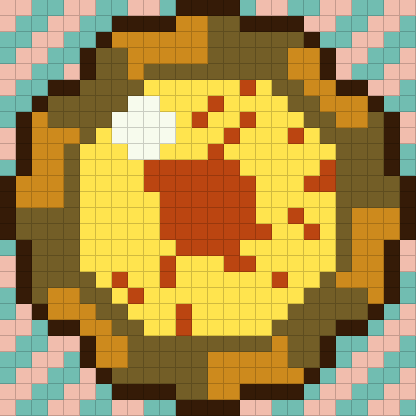 28. Egg Tart
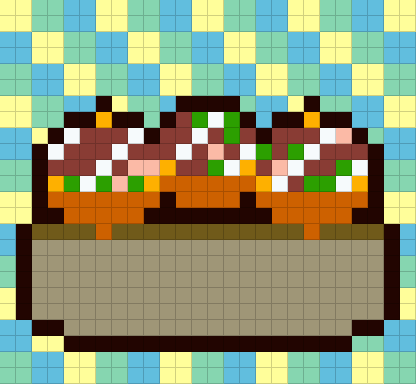 29. Takoyaki
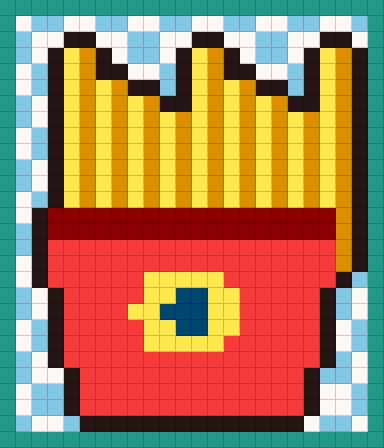 30. French Fries
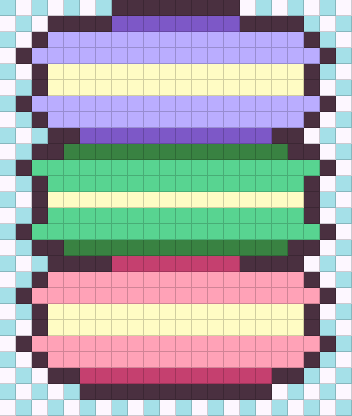 31. Macaron Tower
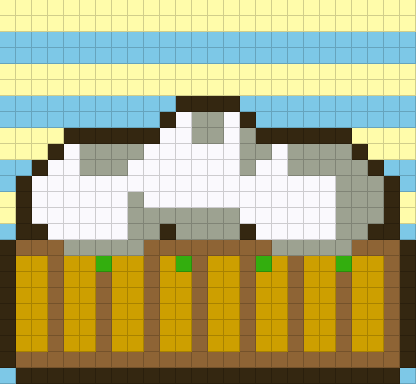 32. Soup Dumplings
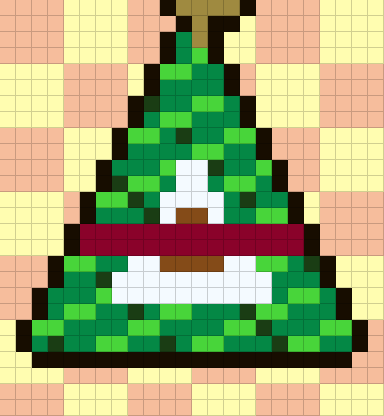 33. Zongzi
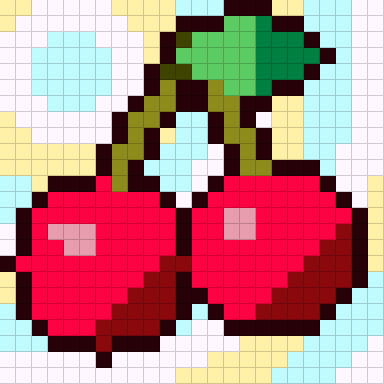 34. Twin Cherries
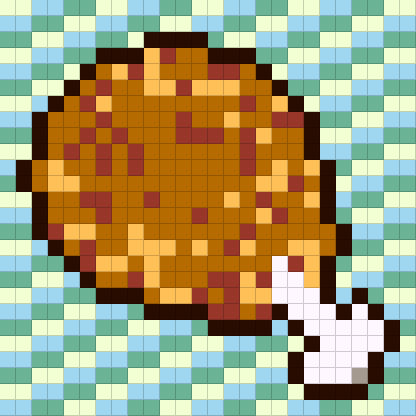 35. Fried Drumstick
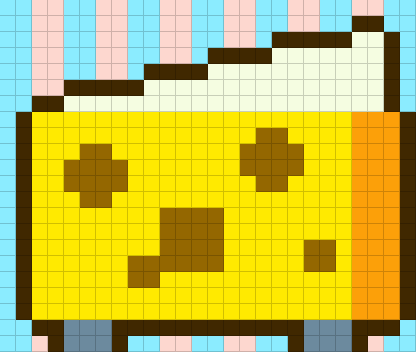 36. Holey Cheese
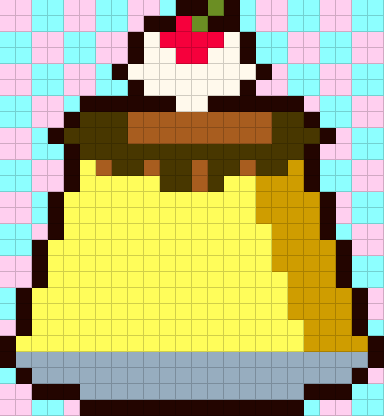 37. Caramel Pudding
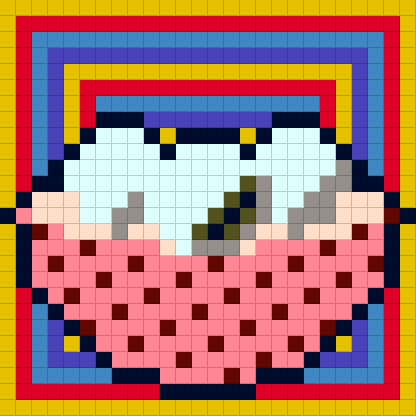 38. Sesame Tangyuan
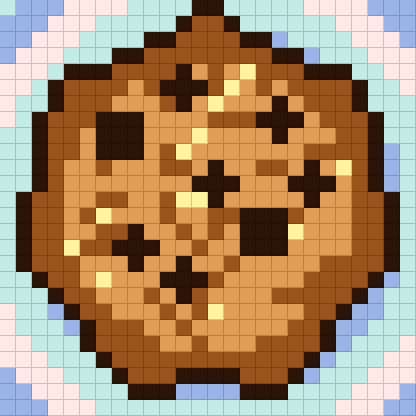 39. Choc Chip Cookie
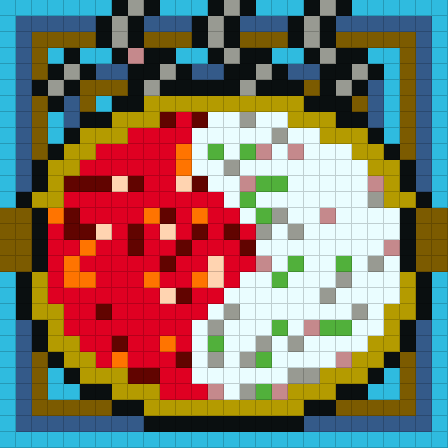 40. Twin Hot Pot